server's /etc/hosts file pointing to itself: # cat /etc/hosts
127.0.0.1 localhost localhost.localdomain localhost4 localhost4.localdomain4
::1 localhost localhost.localdomain localhost6 localhost6.localdomain6
192.168.122.147 rhel7.ipa.linuxconfig.org rhel7 And the hostname provided in the hosts file MUST be the FQDN of the machine.
# hostname
rhel7.ipa.linuxconfig.org
This is an important step, don't miss it. The same hostname needed in the network file:
# grep HOSTNAME /etc/sysconfig/network
HOSTNAME=rhel7.ipa.linuxconfig.org yum command will do:
# yum install ipa-server ipa-server-dns
On a base install, yum will provide a long list of
dependencies, including Apache Tomcat, Apache Httpd, 389-ds (the LDAP
server), and so on. After yum finishes, open the ports needed on the
firewall:
# firewall-cmd --add-service=freeipa-ldap
success
# firewall-cmd --add-service=freeipa-ldap --permanent
success Setup
# ipa-server-install

The log file for this installation can be found in /var/log/ipaserver-install.log
==============================================================================
This program will set up the IPA Server.

This includes:
  * Configure a stand-alone CA (dogtag) for certificate management
  * Configure the Network Time Daemon (ntpd)
  * Create and configure an instance of Directory Server
  * Create and configure a Kerberos Key Distribution Center (KDC)
  * Configure Apache (httpd)
  * Configure the KDC to enable PKINIT

To accept the default shown in brackets, press the Enter key.

WARNING: conflicting time&date synchronization service 'chronyd' will be disabled
in favor of ntpd

## we'll use the integrated DNS server
Do you want to configure integrated DNS (BIND)? [no]: yes

Enter the fully qualified domain name of the computer
on which you're setting up server software. Using the form
<hostname>.<domainname>
Example: master.example.com.

## pressing 'enter' means we accept the default in the bracelets
## this is the reason we set up the proper FDQN for the host
Server host name [rhel7.ipa.linuxconfig.org]:

Warning: skipping DNS resolution of host rhel7.ipa.linuxconfig.org
The domain name has been determined based on the host name.

## now we don't have to type/paste domain name
## and the installer don’t need to try setting the host’s name
Please confirm the domain name [ipa.linuxconfig.org]:

The kerberos protocol requires a Realm name to be defined.
This is typically the domain name converted to uppercase.

## the Kerberos realm is mapped from the domain name
Please provide a realm name [IPA.LINUXCONFIG.ORG]:
Certain directory server operations require an administrative user.
This user is referred to as the Directory Manager and has full access
to the Directory for system management tasks and will be added to the
instance of directory server created for IPA.
The password must be at least 8 characters long.

## Directory Manager user is for the low-level operations, like creating replicas
Directory Manager password:
## use a very strong password in a production environment!
Password (confirm):

The IPA server requires an administrative user, named 'admin'.
This user is a regular system account used for IPA server administration.

## admin is the "root" of the FreeIPA system – but not the LDAP directory
IPA admin password:
Password (confirm):

Checking DNS domain ipa.linuxconfig.org., please wait ...
## we could setup forwarders, but this can be set later as well
Do you want to configure DNS forwarders? [yes]: no
No DNS forwarders configured
Do you want to search for missing reverse zones? [yes]: no

The IPA Master Server will be configured with:
Hostname:       rhel7.ipa.linuxconfig.org
IP address(es): 192.168.122.147
Domain name:    ipa.linuxconfig.org
Realm name:     IPA.LINUXCONFIG.ORG

BIND DNS server will be configured to serve IPA domain with:
Forwarders:       No forwarders
Forward policy:   only
Reverse zone(s):  No reverse zone

Continue to configure the system with these values? [no]: yes

## at this point the installer will work on its own,
## and complete the process in a few minutes. The perfect time for coffee.
The following operations may take some minutes to complete.
Please wait until the prompt is returned.

Configuring NTP daemon (ntpd)
  [1/4]: stopping ntpd ...
The output of the installer is rather long, you can see as all
components configured, restarted, and verified. At the end of the
output, there some steps needed for full functionality, but not for the
installation process itself. ... The ipa-client-install command was successful
==============================================================================
Setup complete
Next steps:
1. You must make sure these network ports are open:
TCP Ports:
* 80, 443: HTTP/HTTPS
* 389, 636: LDAP/LDAPS
* 88, 464: kerberos
* 53: bind
UDP Ports:
* 88, 464: kerberos
* 53: bind
* 123: ntp
2. You can now obtain a kerberos ticket using the command: 'kinit admin'
This ticket will allow you to use the IPA tools (e.g., ipa user-add)
and the web user interface.
Be sure to back up the CA certificates stored in /root/cacert.p12
These files are required to create replicas. The password for these
files is the Directory Manager password
As the installer points out, be sure to backup the CA cert, and open additional needed ports on the firewall. Now let's enable home directory creation on login:
# authconfig --enablemkhomedir –-update
Verification
We can start testing if we have a working service stack. Let's test if we can get a Kerberos ticket for the admin user (with the password given to the admin user during install): # kinit admin Password for admin@IPA.LINUXCONFIG.ORG : # klist Ticket cache: KEYRING:persistent:0:0 Default principal: admin@IPA.LINUXCONFIG.ORG Valid starting Expires Service principal 2018-06-24 21.44.30 2018-06-25 21.44.28 krbtgt/IPA.LINUXCONFIG.ORG@IPA.LINUXCONFIG.ORG The host machine is enrolled into our new domain, and the default rules grant ssh access to the above-created admin user to all enrolled host. Let's test if these rules work as expected by opening ssh connection to localhost: # ssh admin@localhost Password: Creating home directory for admin. Last login: Sun Jun 24 21:41:57 2018 from localhost $ pwd /home/admin $ exit Let's check the status of the whole software stack:# ipactl status
Directory Service: RUNNING
krb5kdc Service: RUNNING
kadmin Service: RUNNING
named Service: RUNNING
httpd Service: RUNNING
ipa-custodia Service: RUNNING
ntpd Service: RUNNING
pki-tomcatd Service: RUNNING
ipa-otpd Service: RUNNING
ipa-dnskeysyncd Service: RUNNING
ipa: INFO: The ipactl command was successful
And - with the Kerberos ticket acquired earlier - ask for information about the admin user using the CLI tool:# ipa user-find admin
--------------
1 user matched
--------------
User login: admin
Last name: Administrator
Home directory: /home/admin
Login shell: /bin/bash
Principal alias: admin@IPA.LINUXCONFIG.ORG
UID: 630200000
GID: 630200000
Account disabled: False
----------------------------
Number of entries returned 1
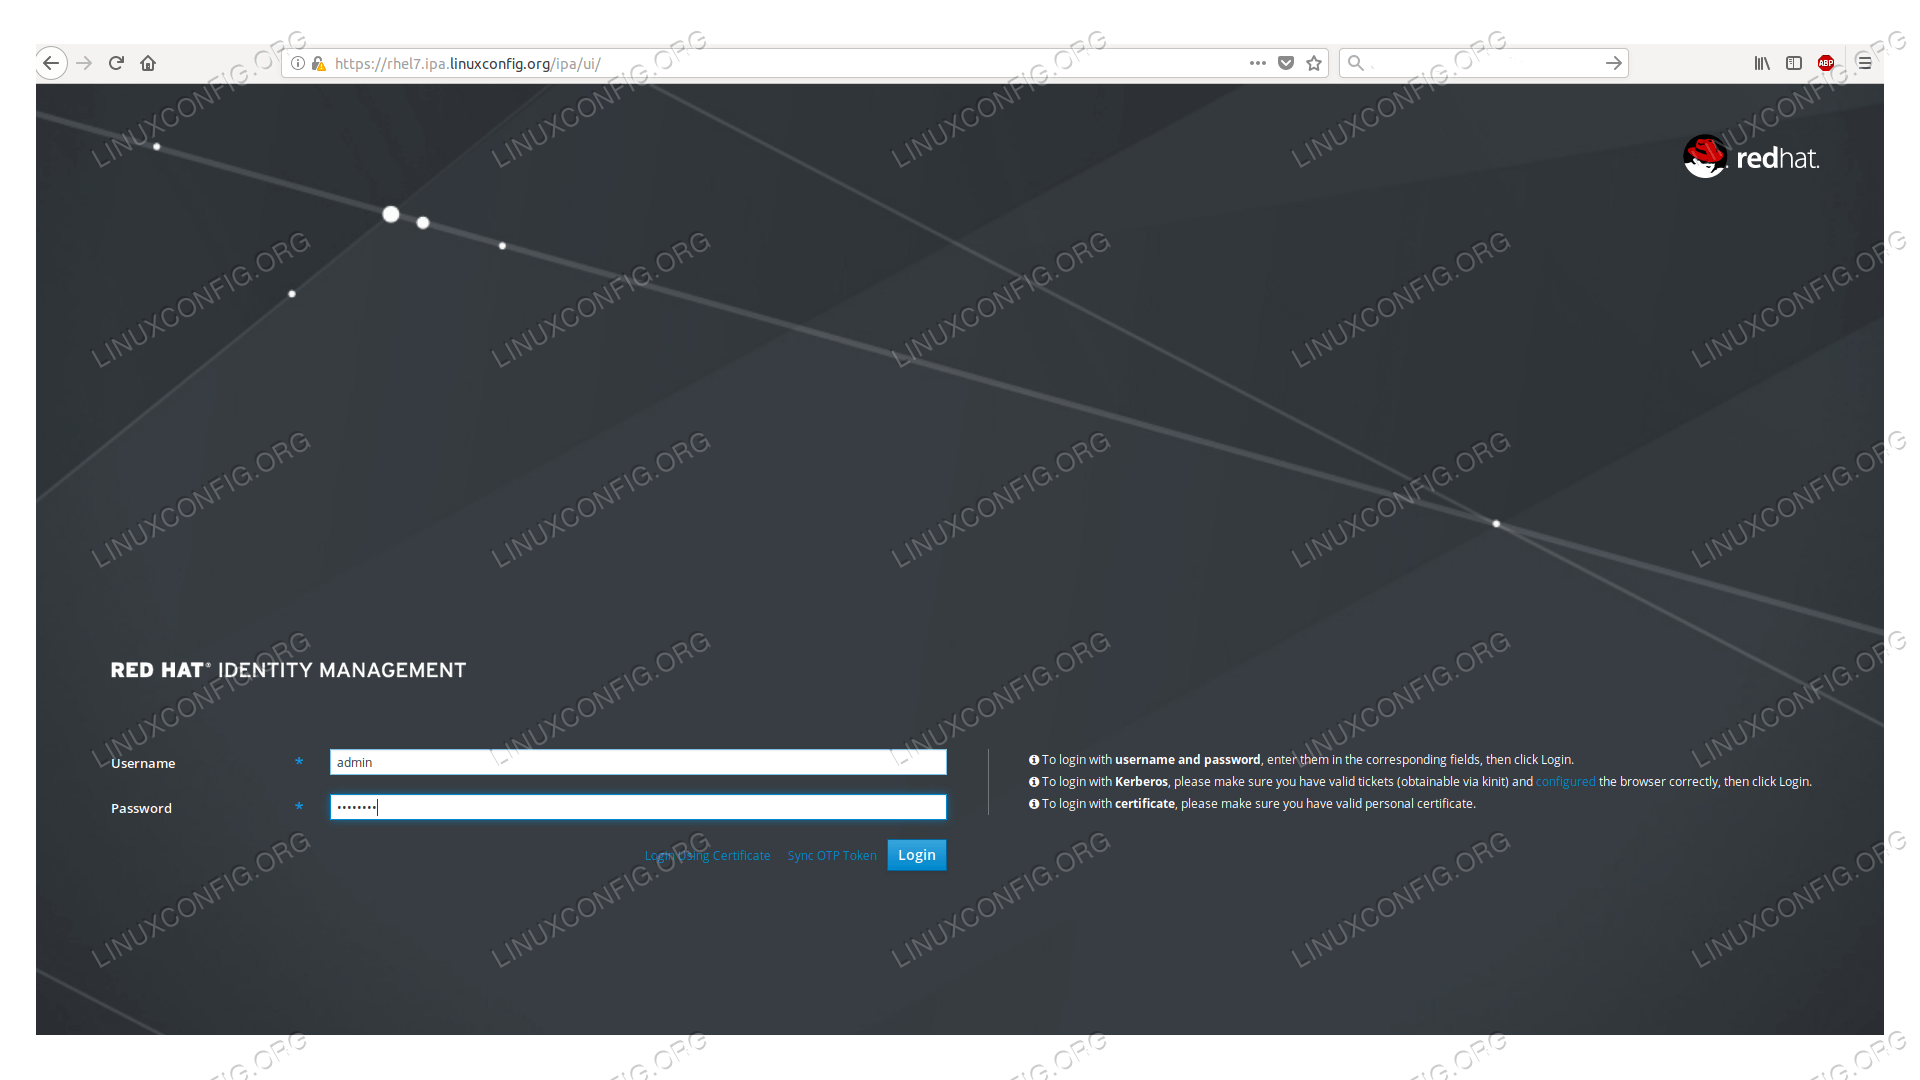
---------------------------- we installed a self-signed root certificate, the browser will warn us about it.
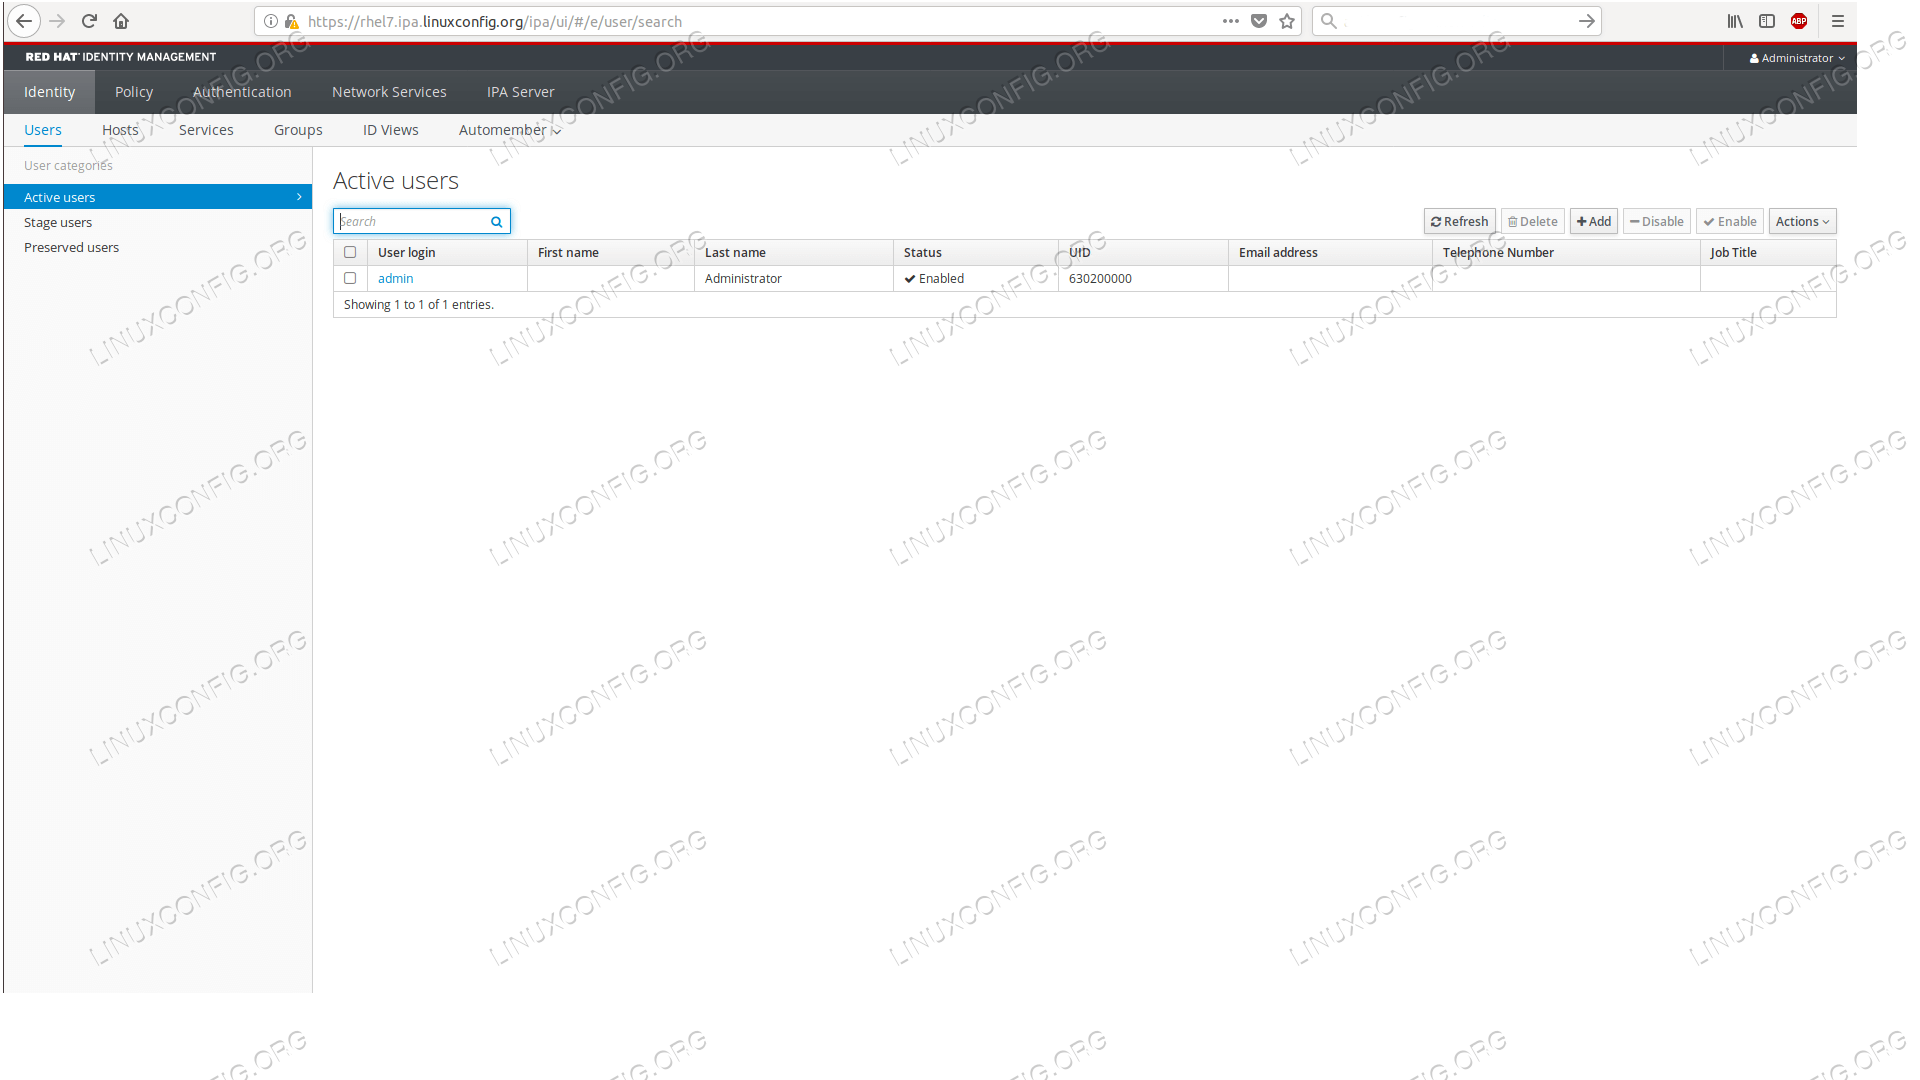
The default page after login shows the list of our users, where now only the admin user appears.
With this we completed our goal, we have a running FreeIPA server ready to be populated with users, hosts, certificates, and various rules.
With this we completed our goal, we have a running FreeIPA server ready to be populated with users, hosts, certificates, and various rules.


